I’m happy to participate in the Riley Blake Stitch 'n Kitchen Holiday Blog Tour! During the month of December, several bloggers are sharing fun holiday projects, some gift ideas, and favorite recipes. The tutorial I'm sharing is a great gift idea!
Project Details:
Finished Size - Quilt: 19” x 19”, Pillow: 7.5" x 4.5"
Here is the "Recipe" for this quilt and pillow:
Ingredients:
- 8” of 6 flannel prints for quilt (or 1 Fat Quarter of 6 prints). We used Riley Blake's Chatsworth Flannel. Visit www.flannelqueen.com to view our great selection of flannel fat quarter bundles.
- Two 9”x6” pieces of flannel fabric for pillow
- Stuffing for pillow (poly fiber fill)
- Coordinating thread
- Fiskars Rag Quilt Snips (optional) or scissors
Baking Time:
I completed this project in a day!
Quilt:
(Use 5/8th inch seams)
Step 1. Cut twelve 4” squares of each of the 6 prints.
Step 1. Cut twelve 4” squares of each of the 6 prints.
Step 2. Set up blocks: match up each square with another square of the
same print, wrong sides together. Since you have 12 squares of each print, once
you match up your blocks you will end up with 6 blocks of each print.

For this quilt, we are using this pattern, where each number corresponds to one of the fabric prints:
| 1 | 2 | 3 | 4 | 5 | 6 |
| 6 | 1 | 2 | 3 | 4 | 5 |
| 5 | 6 | 1 | 2 | 3 | 4 |
| 4 | 5 | 6 | 1 | 2 | 3 |
| 3 | 4 | 5 | 6 | 1 | 2 |
| 2 | 3 | 4 | 5 | 6 | 1 |
Step 3. Sew each row individually, starting with row 1: Take a block
from print 1, match it up with a block from print 2, and sew along one side
using a 5/8th inch seam. Please note that your seams will always
face up in a rag quilt. If you are working with directional prints like
stripes, pay attention to the orientation of the fabric so it will end up
looking the way you intended.
Now that you have block 1 sewn to block 2, it’s time to sew block 3 to
the edge of block 2. Then sew block 4 to the edge of block 3, and so on until
you have finished the row.


Step 4. Using the chart to determine which fabrics to sew together, sew
row 2 using the process described in Step 3. Sew the remaining rows using this
same technique. Now you will have 6 separate rows.
Step 5. Sew row to row: Take row 1 and line it up with row 2,
back-to-back. The bottom edge of row 1 will match up with the top edge of row
2. Sew the bottom edge of row 1 to the top edge of row 2. Remember that the
seams face forward. As you sew, carefully use your fingers to press the seams
open as you sew over them. This will reduce bulk (your sewing needle will thank
you).
Match up row 3 to row 2, back-to-back. Sew the bottom edge of row 2 to
the top edge of row 3.
Repeat this process until all of the rows are sewn together.


Step 6. Sew once around the entire perimeter of the quilt. This will
hold it all together! As you sew, carefully use your fingers to press the seams
open.
Step 7. Clip the seam allowance (make a cut perpendicular to the seam)
about every ¼ inch. Take care not to cut into the stitching. Fiskars Rag Quilt Snips
work very well in this step.
Step 8. Wash and dry the quilt. The first few times it is washed, it will shed
quite a bit. It is best to wash the rag quilt and pillow separately from any
other clothing or blankets. When it comes out of the drier, shake it outside.
This will help dislodge some of the loose strings.
You’re done!
Pillow:
Step 1. Match up the two 9” x 6” pieces of fabric wrong sides together.
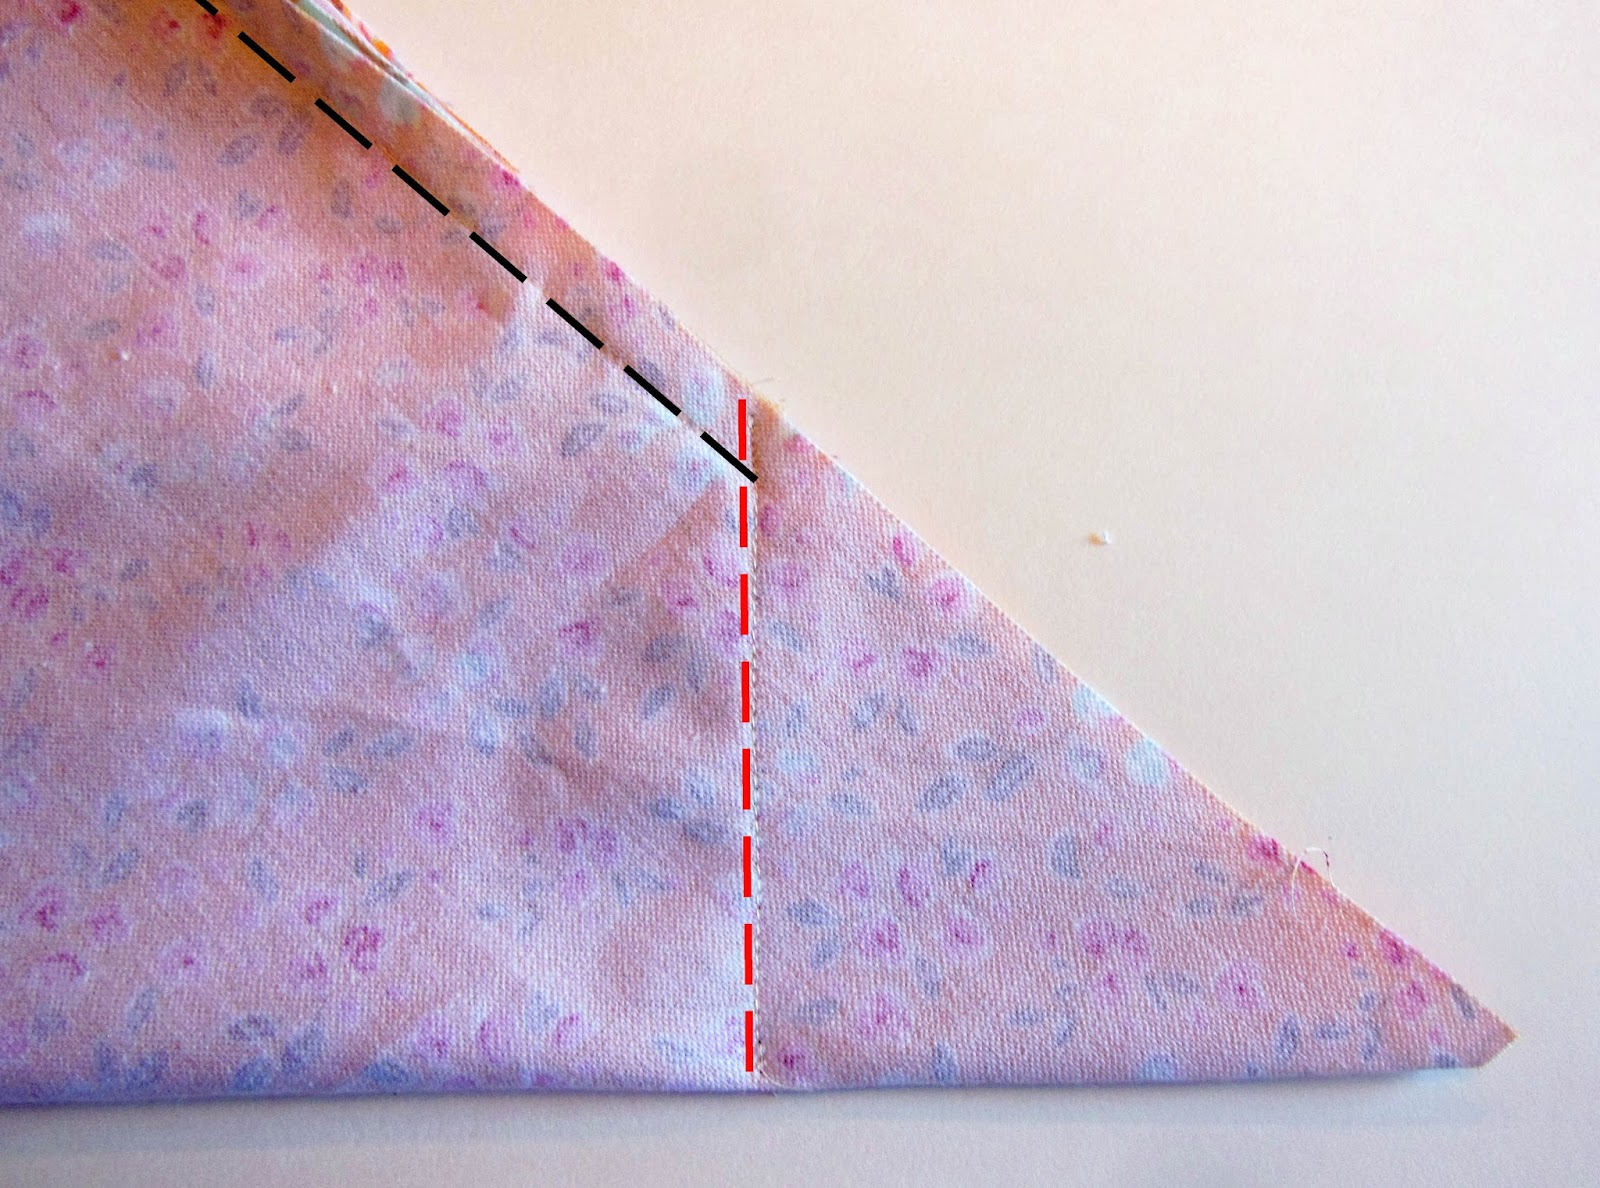
Step 2. Sew a 5/8th inch seam around the perimeter, leaving
a 2” opening on one side.


Step 3. Stuff the pillow with enough stuffing to make it nice and
fluffy. Make sure to work the stuffing into the corners.


Step 4. Sew the opening shut.


Step 5. Clip the seam allowance (make a cut perpendicular to the seam)
about every ¼ inch. Take care not to cut into the stitching.
Step 6. Wash and dry the pillow. The first few times you wash it, it
will shed quite a bit. It is best to wash the rag quilt and pillow separately
from any other clothing or blankets. Shake it outside when it comes out of the
dryer. This will help dislodge some of the loose strings.
Bonus: Recipe

Bonus: Recipe

My husband’s grandma made the best sugar cookies. They are soft, not
crunchy. I’m pretty sure I’ve eaten a zillion of them in my lifetime. Here’s
the recipe:
Grandma’s Sugar Cookies
1 cup Shortening
2 cups Sugar
2 Eggs
1 cup Sour Cream
1 tsp Vanilla
½ tsp Baking Soda
4 tsp Baking Powder
½ tsp Salt
4 ½ cups Flour
Preheat oven to 350 degrees.
In a mixer, mix all wet ingredients together. Then add dry ingredients.
Roll dough out onto a floured surface. Use cookie cutters to cut desired
shapes. Place on cookie sheet and bake for 10-12 minutes. Cookies are done when
the edges BARELY start to turn golden. Frost cookies with your favorite
frosting or icing.
Enjoy!